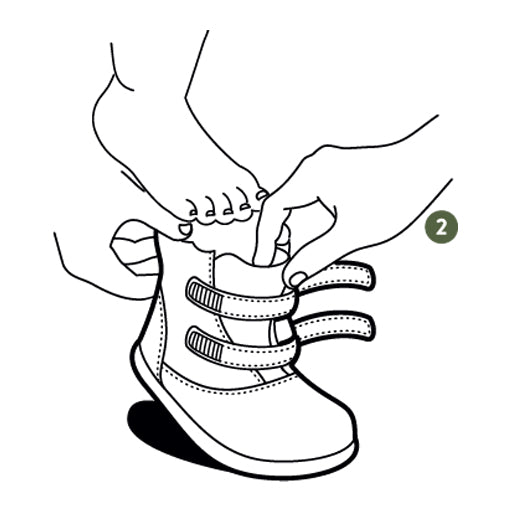
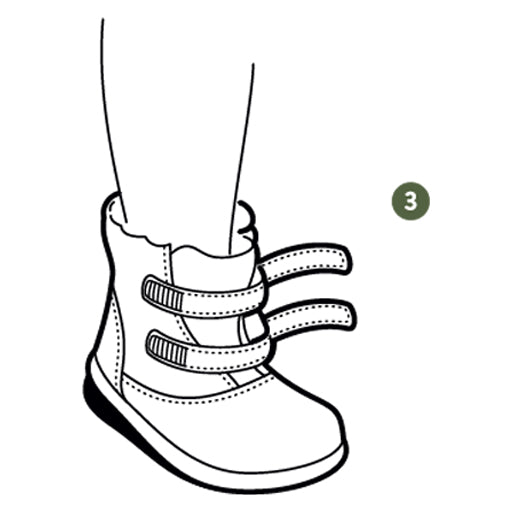
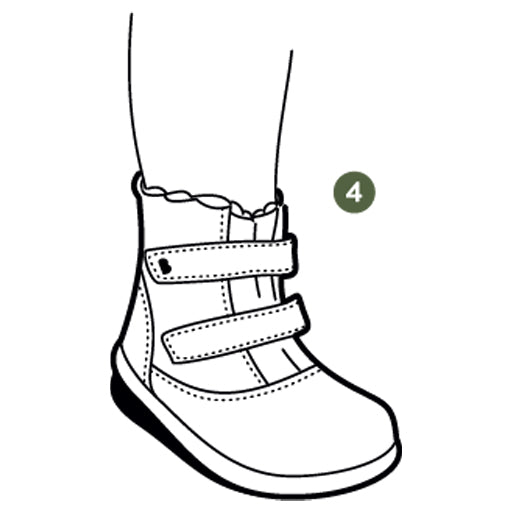
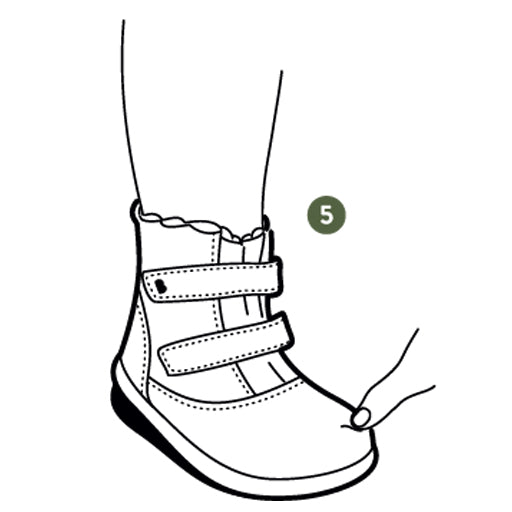
SIZING & FITTING GUIDE

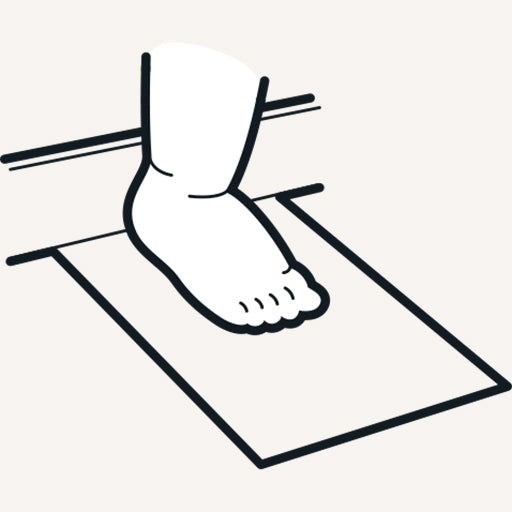
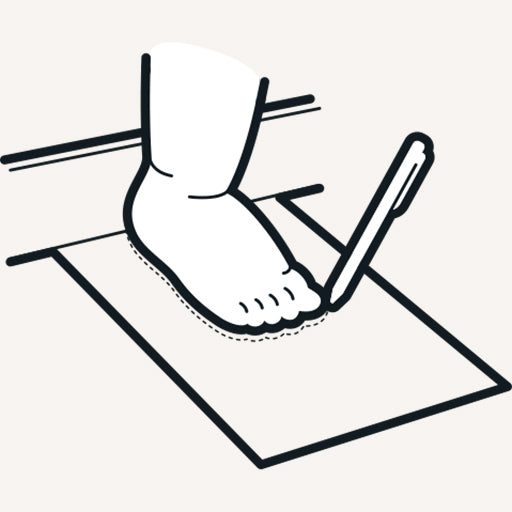
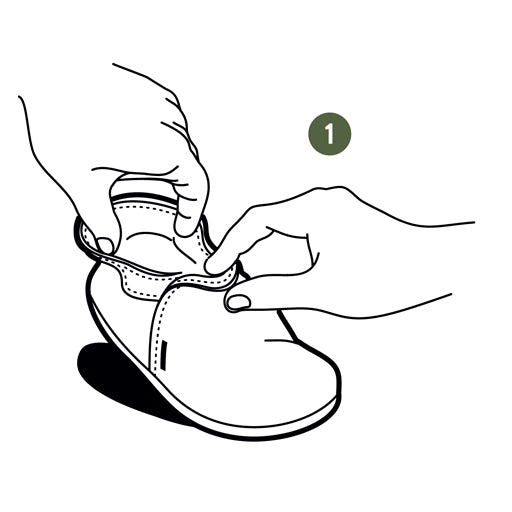
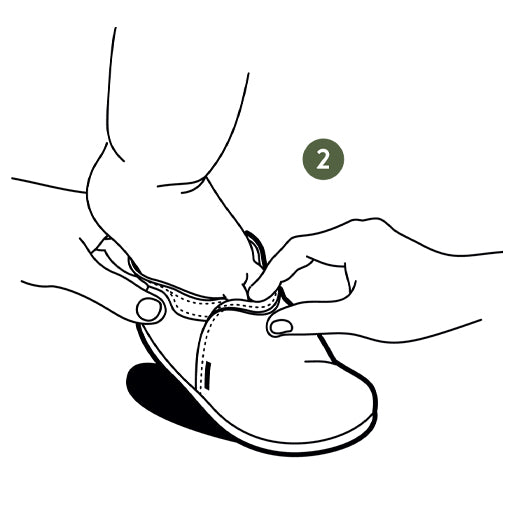
To make sure your child is snug and comfy in their new shoes, it’s important to find the right fit. First make sure you understand what stage your child is at to find the right shoe for them. Each of our stages have a broad range of sizes available, because not all children develop at the same rate and some kid’s feet grow faster than others.

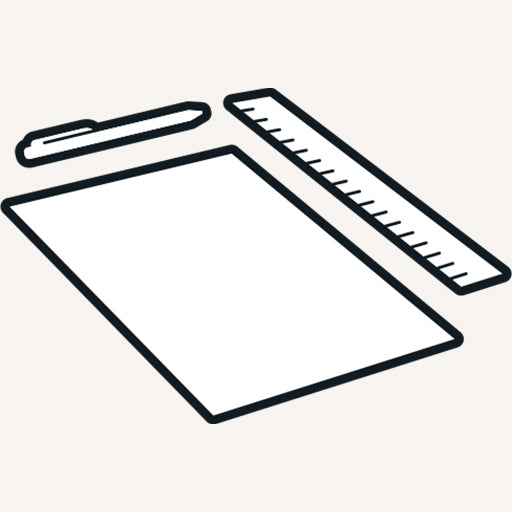
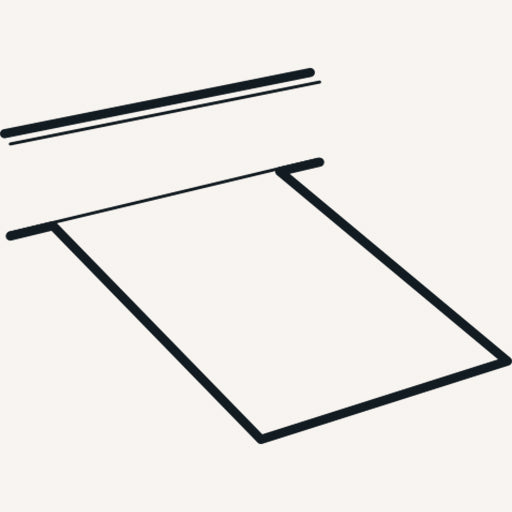
You’ll find easy to follow information on sizes, stages and fitting below.

FINDING THE RIGHT SIZE

EASY WAYS TO FIND THE RIGHT BOBUX SIZE

Just like adult shoes, if kid’s shoes are the wrong size our little adventurers will feel uncomfortable. We’ve got some great tools to help you find the right size for your kid’s growing feet, pick which one works best for you.

HOW TO MEASURE

USE PEN & PAPER

With just an A4 piece of paper and a pen you can find the perfect sized shoes to comfortably fit your child’s feet. You should already know what stage your child is at, if not, visit our stage overview to find out.

Step 1

STEP ONE

Take some paper, a pen and a ruler.

Step 2

STEP TWO

Place the paper flat on the ground against a wall.

Step 3

STEP THREE

Stand your child with one foot on the paper, and their heel against the wall.

Step 4

STEP FOUR

Trace around their toes, and repeat with the other foot.

Step 5

STEP FIVE

Measure the length from the top of their toes to the end of the paper that was against the wall.

Step 6

STEP SIX

Make a note of the millimetre measurement of their longest foot and use our size conversion chart below to find their Bobux shoe size*.

Note: our size conversion chart allows for growth room!

*If your child's foot measurement puts them in the 18-22 EU size range consider their level of activity to select the best stage range for them.

SIZE CONVERSION CHART

MM (FOOT LENGTH) EU UK US AGE UNIV.
84-90 15 0 0.5 0-3 mth NB
91-98 16 0.5 1 3-9 mth S
99-104 17 1 1.5 3-9 mth S
105-111 18 2 3 9-15 mth M
112-118 19 3 4 9-15 mth M
119-125 20 3.5 4.5 15-27 mth L
126-132 21 4.5 5.5 15-27 mth L
133-139 22 5 6 2 yrs XL
140-145 23 6 7 2 yrs XL
146-152 24 7 8 2-3 yrs 2XL
153-159 25 7.5 8.5 2-3 yrs 2XL
160-166 26 8.5 9.5 3-4 yrs 3XL
167-172 27 9.5 10 3-4 yrs 3XL
173-179 28 10 10.5 4-5 yrs 4XL
180-185 29 11 11.5 4-5 yrs 4XL
186-192 30 11.5 12 5-6 yrs 5XL
193-199 31 12 13 5-6 yrs 5XL
200-206 32 13 13.5 6-7 yrs 6XL
207-213 33 1 1.5 7-8 yrs 6XL

FIT FOR COMFORT

HOW TO FIT YOUR CHILD'S SHOE

Now that you’ve received your shoes, you’ll want to make sure that they fit your child comfortably,with plenty of room to grow. Our sizing includes a little ‘wiggle room’ to keep your child’s little toes from touching the end of their shoes, so our sizes might seem a little larger than other brands.

Bobux shoes are designed to be easy to fit, to take a little stress away from getting kids out the door. Bigger kids might be putting their own shoes on, but it’s important to make sure that shoes are fitted properly and fastened well for overall comfort. Follow the helpful guides below to help comfortably fit your kids shoes.

STEPS TO FITTING A SOFT SOLE

Step one

STEP ONE

Stretch the collar.

Step 2

STEP TWO

Guide the shoe onto the foot, keeping toes clear of the elastic.

STEPS TO FITTING AN XPLORER WITH STRAP

Stage one

STEP ONE

Release the strap fastening.

Step two

STEP TWO

Stretch the collar.

Step three

STEP THREE

Guide the shoe onto the foot, keeping toes clear of the elastic.

Step four

STEP FOUR

Fasten the straps so the foot fits securely but comfortably into the shoe.

STEPS TO FITTING AN XPLORER STRETCH FIT

Step one

STEP ONE

Simply stretch the collar and slide on.

Step two

STEP TWO

The knit mid-section will hug the ankle and take its shape.

STEPS TO FITTING A SHOE

Step one

STEP ONE

Loosen all fastenings and pull the tongue towards the toe of the shoe to maximise room for the foot.

Step two

STEP TWO

Hold the tongue and collar or heel tab, and guide the shoe onto the foot.

Step three

STEP THREE

Place foot firmly on the ground with the child standing upright if possible, with their heel at the back of the shoe.

Step four

STEP FOUR

Pull the tongue back and fasten straps over the tongue so that the foot is held in place securely but comfortably. The child should be able to flex their ankle without any discomfort and their foot should fit square in the shoe while walking. Straps should sit across the foot without too much restriction.

Step five

STEP FIVE

Check that there is room at the end of the shoe by pressing the toe area. There should be a thumb's width of growth room between the top of the toes and the front of the shoe.

STEPS TO FITTING AN UNLINED BOOT

Step one

STEP ONE

Loosen all fastenings and pull the tongue (if applicable) towards the toe of the boot to maximise room for the foot.

Step two

STEP TWO

Hold the tongue and the back of the collar, and guide the boot onto the foot. Consider wearing socks for an easier fit, particularly if the boot is leather lined.

Step three

STEP THREE

Place foot firmly on the ground with the child standing upright if possible, with their heel at the back of the boot.

Step four

STEP FOUR

Pull the tongue back and fasten straps over the tongue so that the foot is held in place securely but comfortably. The child should be able to flex their ankle without any discomfort and their foot should fit square in the boot while walking. Straps should sit across the foot without too much restriction.

Step five

STEP FIVE

Check that there is room at the end of the boot by pressing the toe area. There should be a thumb's width of growth room between the top of the toes and the front of the boot.

STEPS TO FITTING A FLEECE LINED BOOT

Step one

STEP ONE

Loosen all fastenings and pull the tongue (if applicable) towards the toe of the boot to maximise room for the foot.

Step two

STEP TWO

Hold the tongue and the back of the collar, and guide the boot onto the foot.

Step three

STEP THREE

Place foot firmly on the ground with the child standing upright if possible, with their heel at the back of the boot.

Step four

STEP FOUR

Pull the tongue back and fasten straps over the tongue so that the foot is held in place securely but comfortably. The child should be able to flex their ankle without any discomfort and their foot should fit square in the boot while walking. Straps should sit across the foot without too much restriction.

Step five

STEP FIVE

Check that there is room at the end of the boot by pressing the toe area. There should be a thumb's width of growth room between the top of the toes and the front of the boot.

STEPS TO FITTING AN OPEN SANDAL

Step one

STEP ONE

Loosen all fastenings so the sandal opens up completely.

Step two

STEP TWO

Hold the straps open and guide the foot into the sandal.

Step three

STEP THREE

Place foot firmly on the ground with the child standing upright if possible, with their heel at the back of the sandal.

Step four

STEP FOUR

Secure all fastenings so that the foot is held in place securely but comfortably. The child should be able to flex their ankle without any discomfort and their foot should fit square in the sandal while walking. Straps should sit across the foot without too much restriction.

Step five

STEP FIVE

Check that there is room at the end of the sandal. There should be a thumb's width of growth room between the top of the toes and the front of the sandal.

STEPS TO FITTING A CLOSED SANDAL

Step one

STEP ONE

Loosen all fastenings and pull the centre front tab (if applicable) towards the toe of the sandal to maximise room for the foot.

Step two

STEP TWO

Hold the centre front tab and the back of the collar, and guide the sandal onto the foot.

Step three

STEP THREE

Place foot firmly on the ground with the child standing upright if possible, with their heel at the back of the sandal.

Step four

STEP FOUR

Pull the centre front tab back and secure fastenings so that the foot is held in place securely but comfortably. The child should be able to flex their ankle without any discomfort and their foot should fit square in the sandal while walking. Straps should sit across the foot without too much restriction.

Step five

STEP FIVE

Check that there is room at the end of the sandal by pressing the toe area. There should be a thumb's width of growth room between the top of the toes and the front of the sandal.